
 Well, we accomplished a lot. I am really excited, mostly because I have new ideas for next year! So here is how it turned out...
The original idea was found here:
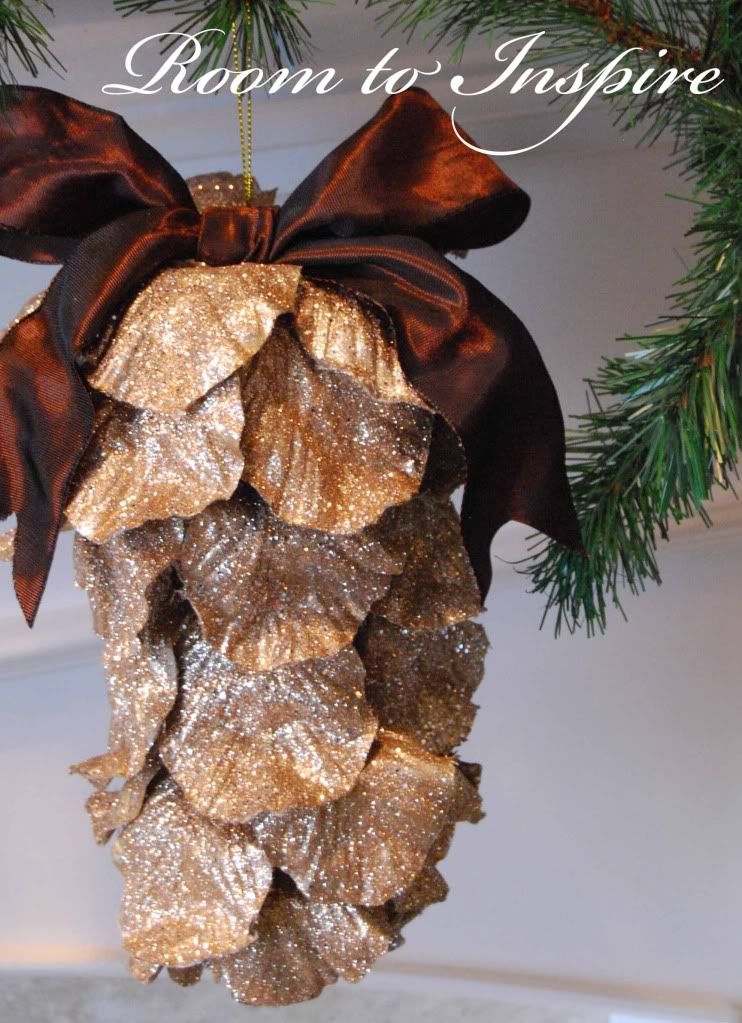
I needed to make it a little cheaper, but I loved the look of these pine cones. So, I bought paper mache' eggs because they are way cheaper than the styrofoam cones. I also bought cheaper flowers that didn't have the wire in them, and they worked great! I used a few leftover silk flowers I found in my basement, too.
Supplies:
Paper Mache' eggs
Metallic Spray Paint (we used both caramel latte' and a brushed nickel, but in the end you could hardly tell them apart)
silk flowers with varying petal sizes
hot glue
wire, wire curler or pliers
beads (1/2 inch, one per egg)
ribbon

Paper Mache' eggs were cheap. Small ones (2 inches) were 3/$1, the larger size was 67 cents (about a 5 inch egg)
We spray painted just the end of the egg where it would be showing through. We left the rest alone.

We took the flowers apart. We had a variety of flower types, but found it best to use one type per cone. The ones with some texture and rounded ends worked best. We spray painted them and let them dry while we worked on other crafts. It didn't take too long, even in an unheated basement.
After they were dry we cut them so that each petal was separate.
Then we started at the skinny, painted end of the egg, adding one petal at a time, and working around (not top to bottom), we just glued the petals onto the egg. It took about 3-4 rows for the smaller eggs, and 5-6 for the larger size.
After the petals were attached, we finished the larger egg end by just gluing down the petals so they laid flat. They needed to look nice, but they would be covered up at least partially, by the ribbon and bead.
I cut wire, just heavier craft wire, and bent one end into a "v" shape, about 2 inches from the bottom. I curled both ends of the wire, one into a cute little curl, the other into the hanger for the ornament. The "v" bend I pushed through the bead hole, and hot glued it in place. Then I hot glued that bead to the larger egg end. After it was set we attached bows to that bead and egg end.
Here is the finished pinecone!


 Pinecone Craft
 Woven Star
 Snowball
 Winter Branches
 Pottery Barn Noel